


How to correctly install Kate HTPM's track
Publish Time:
2023-11-09
First, use an oil stone to remove burrs and small protrusions from the machine bed reference surface, straighten it, and wipe it clean with a cloth. Then wipe it clean with a volatile liquid. The rust preventive oil on the guide rails should also be cleaned first.
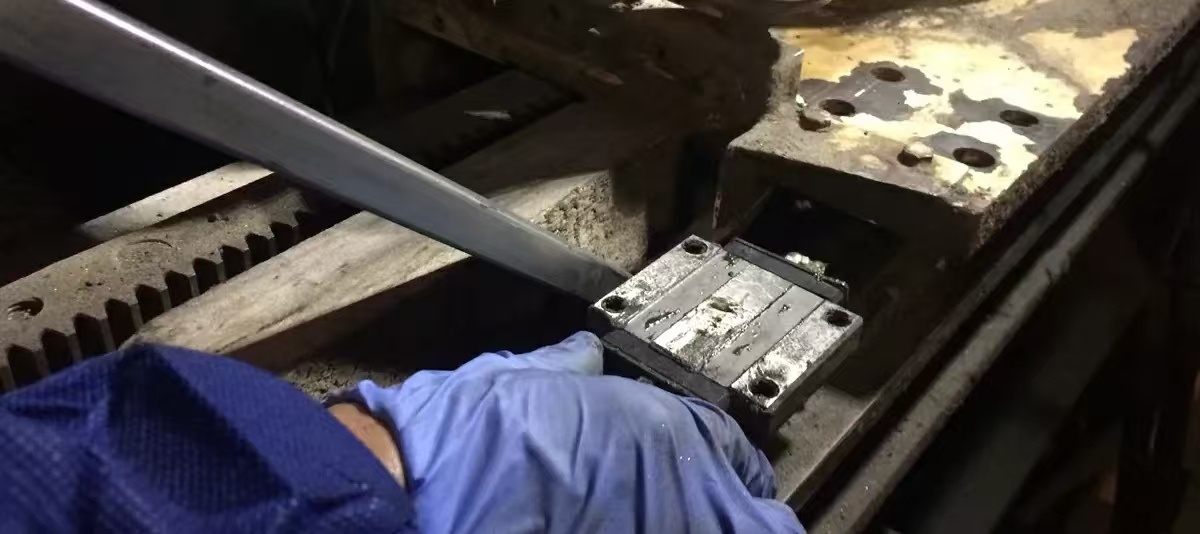
After the side reference surface of the guide rail (the reference guide rail must use the side reference surface) is positioned against the positioning step side reference surface B, it is pre-fixed to the bed reference surface A with screws. Do not overtighten the screws; it is sufficient to ensure close contact between the guide rail bottom surface and the reference surface. The clamping method for the side of the guide rail and the reference surface B is shown in the figure below. Use a pressure plate to clamp the guide rail, ensuring close contact between the side of the guide rail and the installation reference surface B.

After completing the above work, tighten the guide rail installation screws one by one using a torque wrench according to the reference values in the table below, starting from the middle and tightening towards both ends in a crisscross pattern.

When positioning with dual guide rails, both guide rails should be installed using the above method; when using a single guide rail positioning method, the side of one guide rail will not be positioned. In this case, adjustment should be performed as shown in the figure below. First, connect the two sliders with a fixture, place a dial indicator on top of the fixture, and let the dial indicator probe contact the side of the non-reference guide rail. Move the dial indicator and adjust the non-reference guide rail according to the reading, then tighten the installation screws with a torque wrench.

However, the above method is only applicable when the distance between the two guide rails is relatively small. When the distance is large, insufficient rigidity of the dial indicator frame will affect the measurement accuracy. Therefore, for occasions with a large span, Kait Jinge recommends that users first install and fix the workbench on the slider of the reference guide rail. The two sliders of the non-reference guide rail are then lightly connected to the workbench with installation screws. Place a dial indicator frame on the workbench, let the probe contact the side reference surface of the non-reference guide rail, adjust the non-reference guide rail according to the reading during the dial indicator movement, and then tighten the guide rail installation screws one by one with a torque wrench.
Finally, installation and fixing of the slider and workbench:
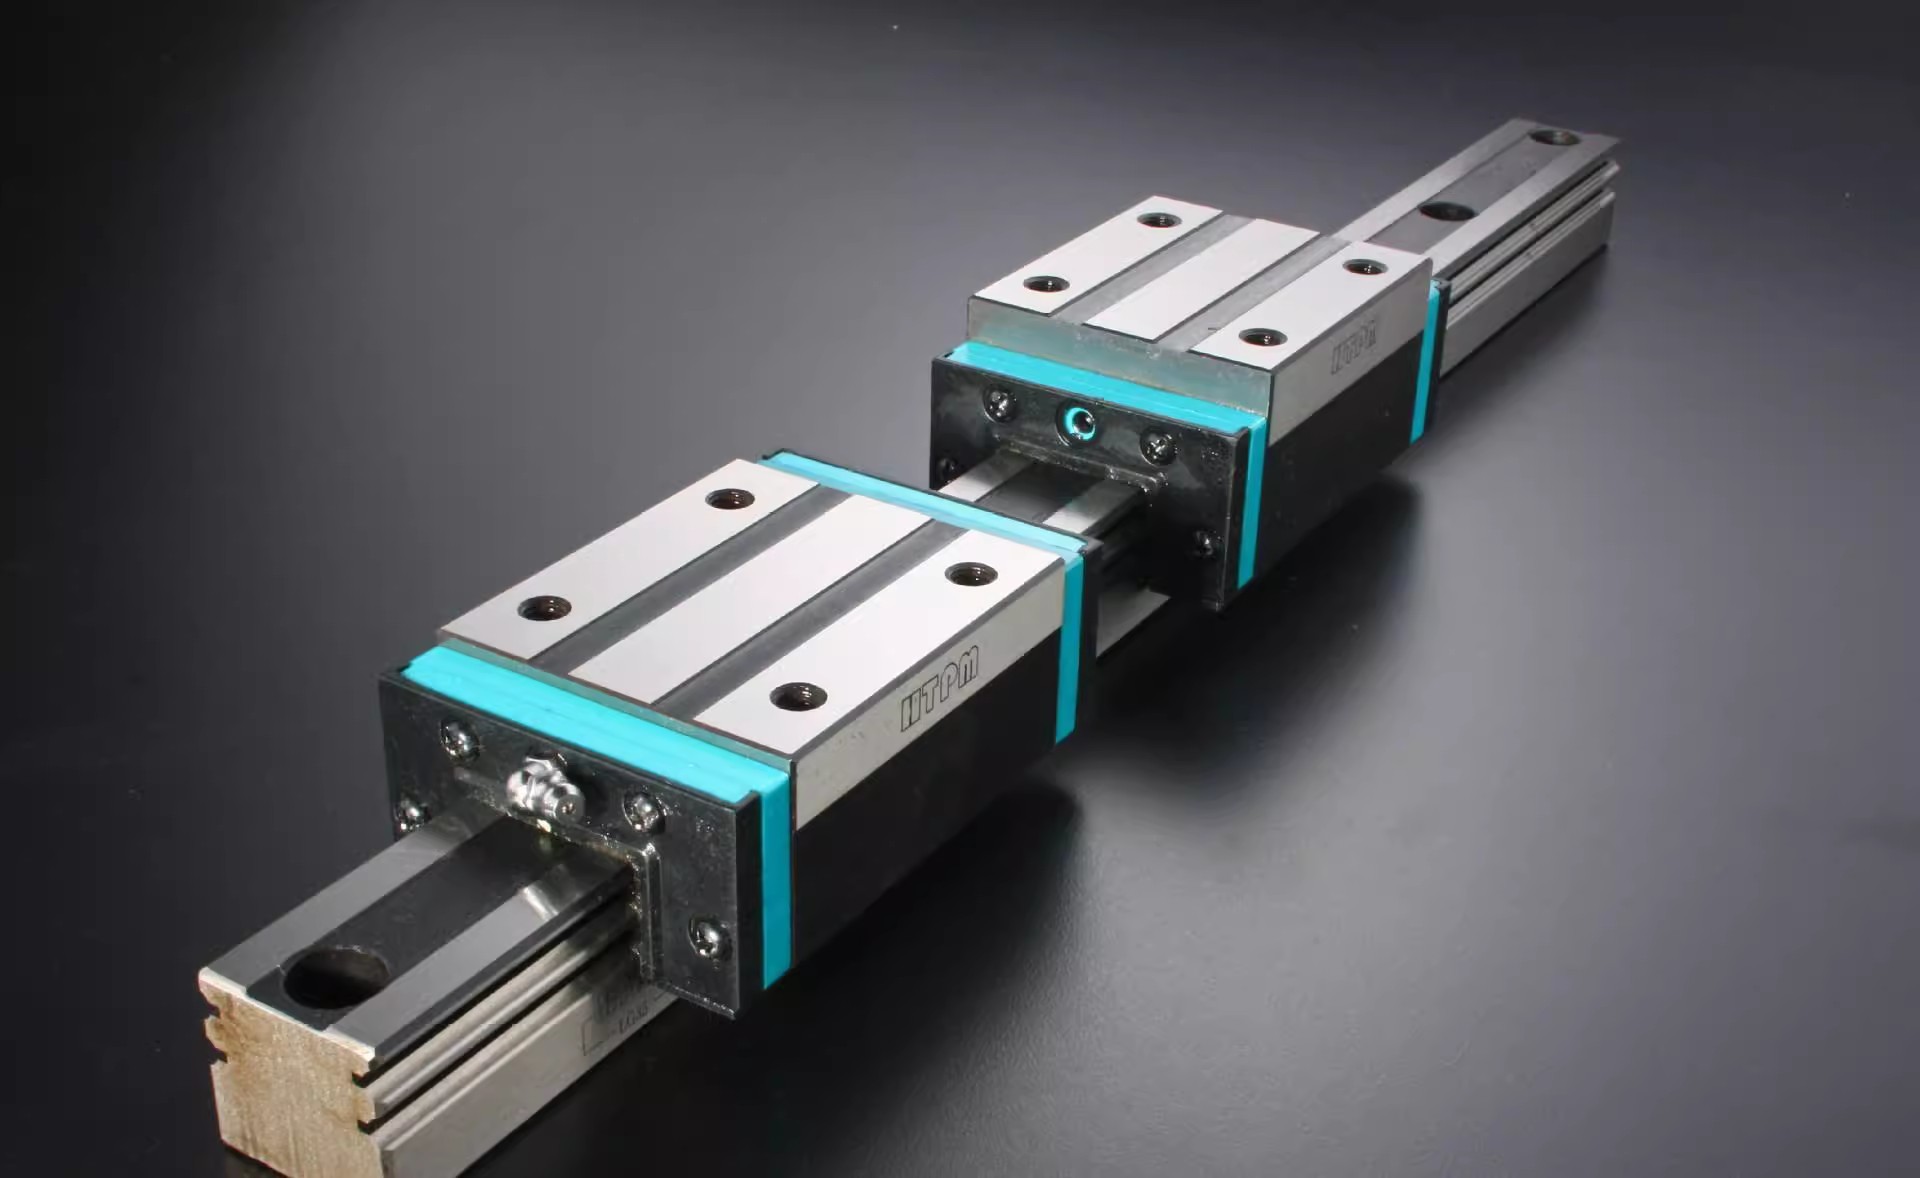
After completing the above work, position the sliders at the predetermined intervals. Gently place the workbench on the sliders, align the workbench installation holes with the installation screw holes on the top surface of the sliders, pre-fix the sliders with installation screws, and tighten the clamping device so that the reference side of the reference slider is close to the reference side of the workbench. Then, tighten the installation screws on the sliders one by one in a diagonal order.
After installation, check whether the operation within its stroke is smooth, flexible, and without any obstruction, and whether the frictional force varies significantly within the entire stroke.
Latest News

 2025-01-08
Get a Free Consultancy


No. 39, Life Second Road, Dalian Economic and Technological Development Zone, 8-5
Copyright © 2025 Maoming Precision Machinery (Dalian) Co., Ltd. All Rights Reserved.